Chapter 3 Office documents generation
You can generate Word and PowerPoint reports in two ways.
- With the ‘officer’ package; in this case, you have a set of R functions that let you send R-generated content into a Word document or a PowerPoint presentation.
library(officer)

doc_1 <- read_docx() |>
  body_add_par("Hello world!", style = "heading 1") |>
  body_add_par("", style = "Normal") |>
  body_add_table(airquality, style = "table_template")

print(doc_1, target = "static/office/example_1.docx")
- With the ‘officedown’ package; in this case, you use the syntax offered by the ‘rmarkdown’ package to define the content of the Word document or the PowerPoint presentation.
---
date: "2020-15-36"
author: "Your Name"
title: "officedown template"
output: officedown::rdocx_document
---

## A level 2 title

Some blah blah blah blah blah blah blah blah blah blah blah blah blah
blah blah blah blah blah blah blah blah blah blah blah blah blah blah.
3.1 Templates
These features are based on the use of Word or PowerPoint templates. One thing to keep in mind when getting started is that there is always a template document that is used to produce the final document. For simple uses, the user will not realize this because he will use the default document.
So, what is the purpose of this document template? Your document styles, lists definitions, the table styles, margin sizes, footers are some of the properties that will be reused in the produced document.
Taking full advantage of the packages’capabilities requires the use of document templates in which various styles and formatting parameters are stored.
You can create or re-use a Microsoft Word or PowerPoint document that will be used as template (ex: “template.docx” or “template.pptx”).
For the production of Word documents, it is recommended to learn how “Word
styles” work for paragraphs, tables and lists if you never really used Word
styles (Go to your favorite search engine and type word custom style). For the
production of PowerPoint presentations, it is recommended to learn how layouts
work (Go to your favorite search engine and type PowerPoint Masters and Layouts).
3.1.1 Template usage with officedown
The argument reference_docx (see ?rmarkdown::word_document or ?officedown::rdocx_document)
lets you to use styles and settings from a template which is a Word document (ending with *.docx).
The R Markdown documentation on this topic is available via:
https://bookdown.org/yihui/rmarkdown/word-document.html
---
date: "2020-15-36"
author: "Your Name"
title: "officedown template"
output:
  officedown::rdocx_document:
    reference_docx: path/to/your/template.docx
---

## A level 2 title

Some blah blah blah blah blah blah blah blah blah blah blah blah blah
blah blah blah blah blah blah blah blah blah blah blah blah blah blah.
The argument reference_doc (see ?rmarkdown::powerpoint_presentation or
?officedown::rpptx_document) lets you to use settings from a template
which is a PowerPoint document (ending with *.pptx).
The R Markdown documentation on this topic is available via:
https://bookdown.org/yihui/rmarkdown/powerpoint-presentation.html
---
date: "2020-15-36"
author: "Your Name"
title: "officedown template"
output:
  officedown::rpptx_document:
    reference_doc: path/to/your/template.pptx
---

## A level 2 title

Some blah blah blah blah blah blah blah blah blah blah blah blah blah
blah blah blah blah blah blah blah blah blah blah blah blah blah blah.
3.1.2 Template usage with ‘officer’
To specify a template, use parameter path which is the filename
of the Word or PowerPoint template.
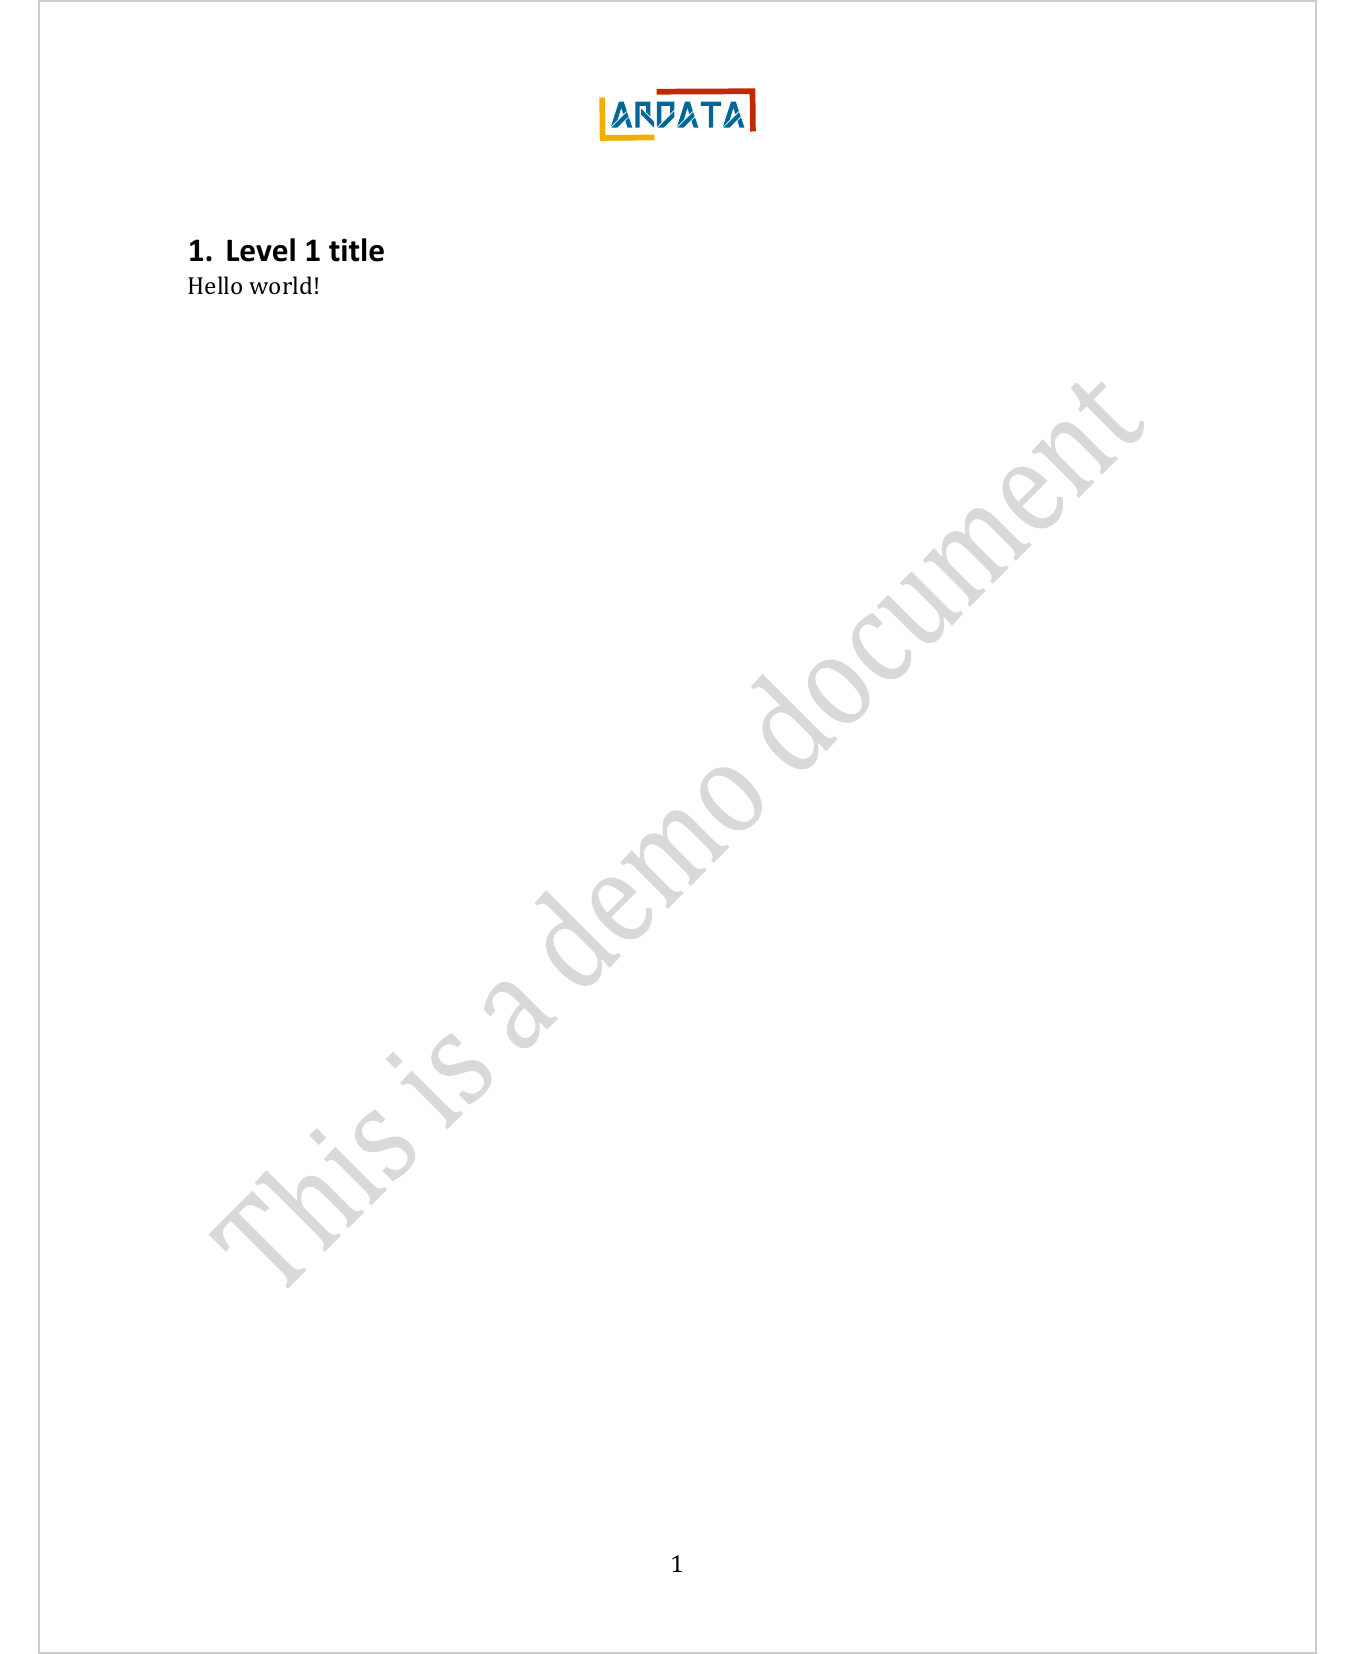
The following example illustrates our point with a template containing page numbers, a logo and a diagonal banner on the body of the document.
library(officer)

doc_2 <- read_docx(path = "templates/template_demo.docx") |>
  body_add_par("Hello world!", style = "Normal") |>
  body_add_table(head(mtcars), style = "Table")

print(doc_2, target = "static/office/example_2.docx")
Formats and styles are defined in the initial file. The content of original document is preserved.
pres_2 <- read_pptx(path = "templates/template_demo.pptx") |>
  add_slide(layout = "Title and Content") |>
  ph_with(value = "Hello world", location = ph_location_type(type = "title")) |>
  ph_with(value = head(iris), location = ph_location_type(type = "body"))

print(pres_2, target = "static/office/pptx_example_2.pptx")
Formats and available slide layouts will be those available in the template file. The content of original document is also preserved (but can be manipulated, i.e. delete a slide).
3.2 PowerPoint presentation properties
3.2.1 PowerPoint layouts and masters
To control the overall appearance of the slides, to make sure that they use the same fonts and images (such as a logo), to define the locations and sizes of the placeholders, you need to use Slide Masters and Slide Layouts.
To open Slide Master view in PowerPoint, on the View tab, select Slide Master.
The master slide is the top slide in the thumbnail pane on the left side of the window. Related layouts appear below the slide master (as in this picture from PowerPoint for macOS):
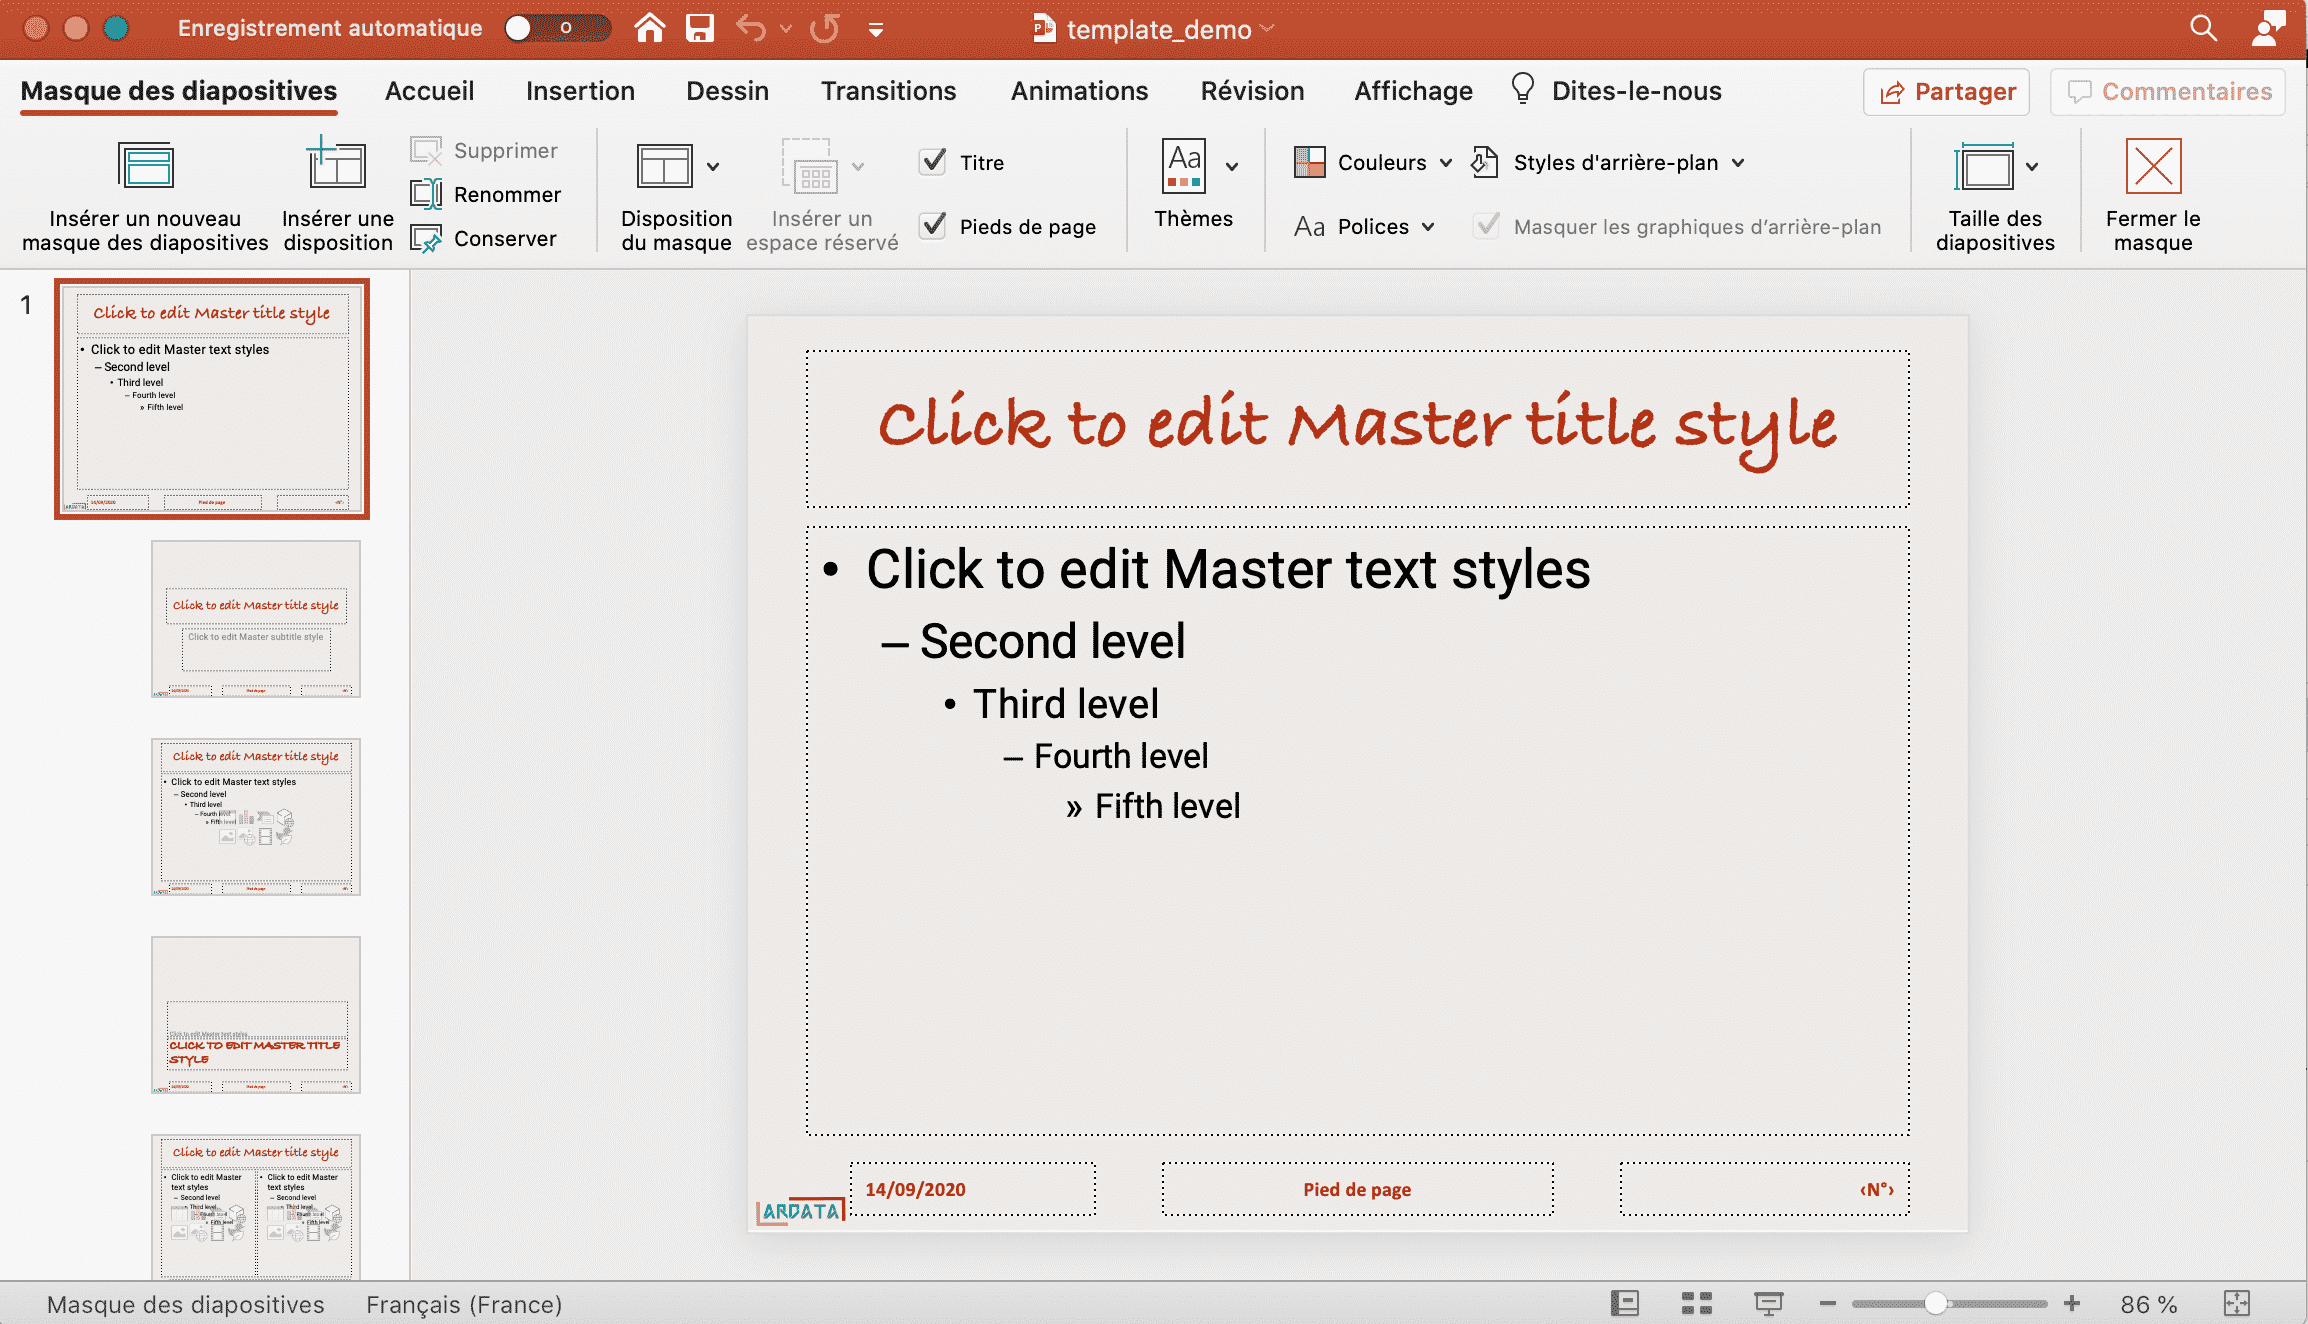
When you change the slide master, all slides based on it contain these changes.
Most of the changes will be made to the layouts related to the master. Layouts can be customized, you can change the name of the layout, the position of the contents, the sizes, but also add or remove new placeholders.
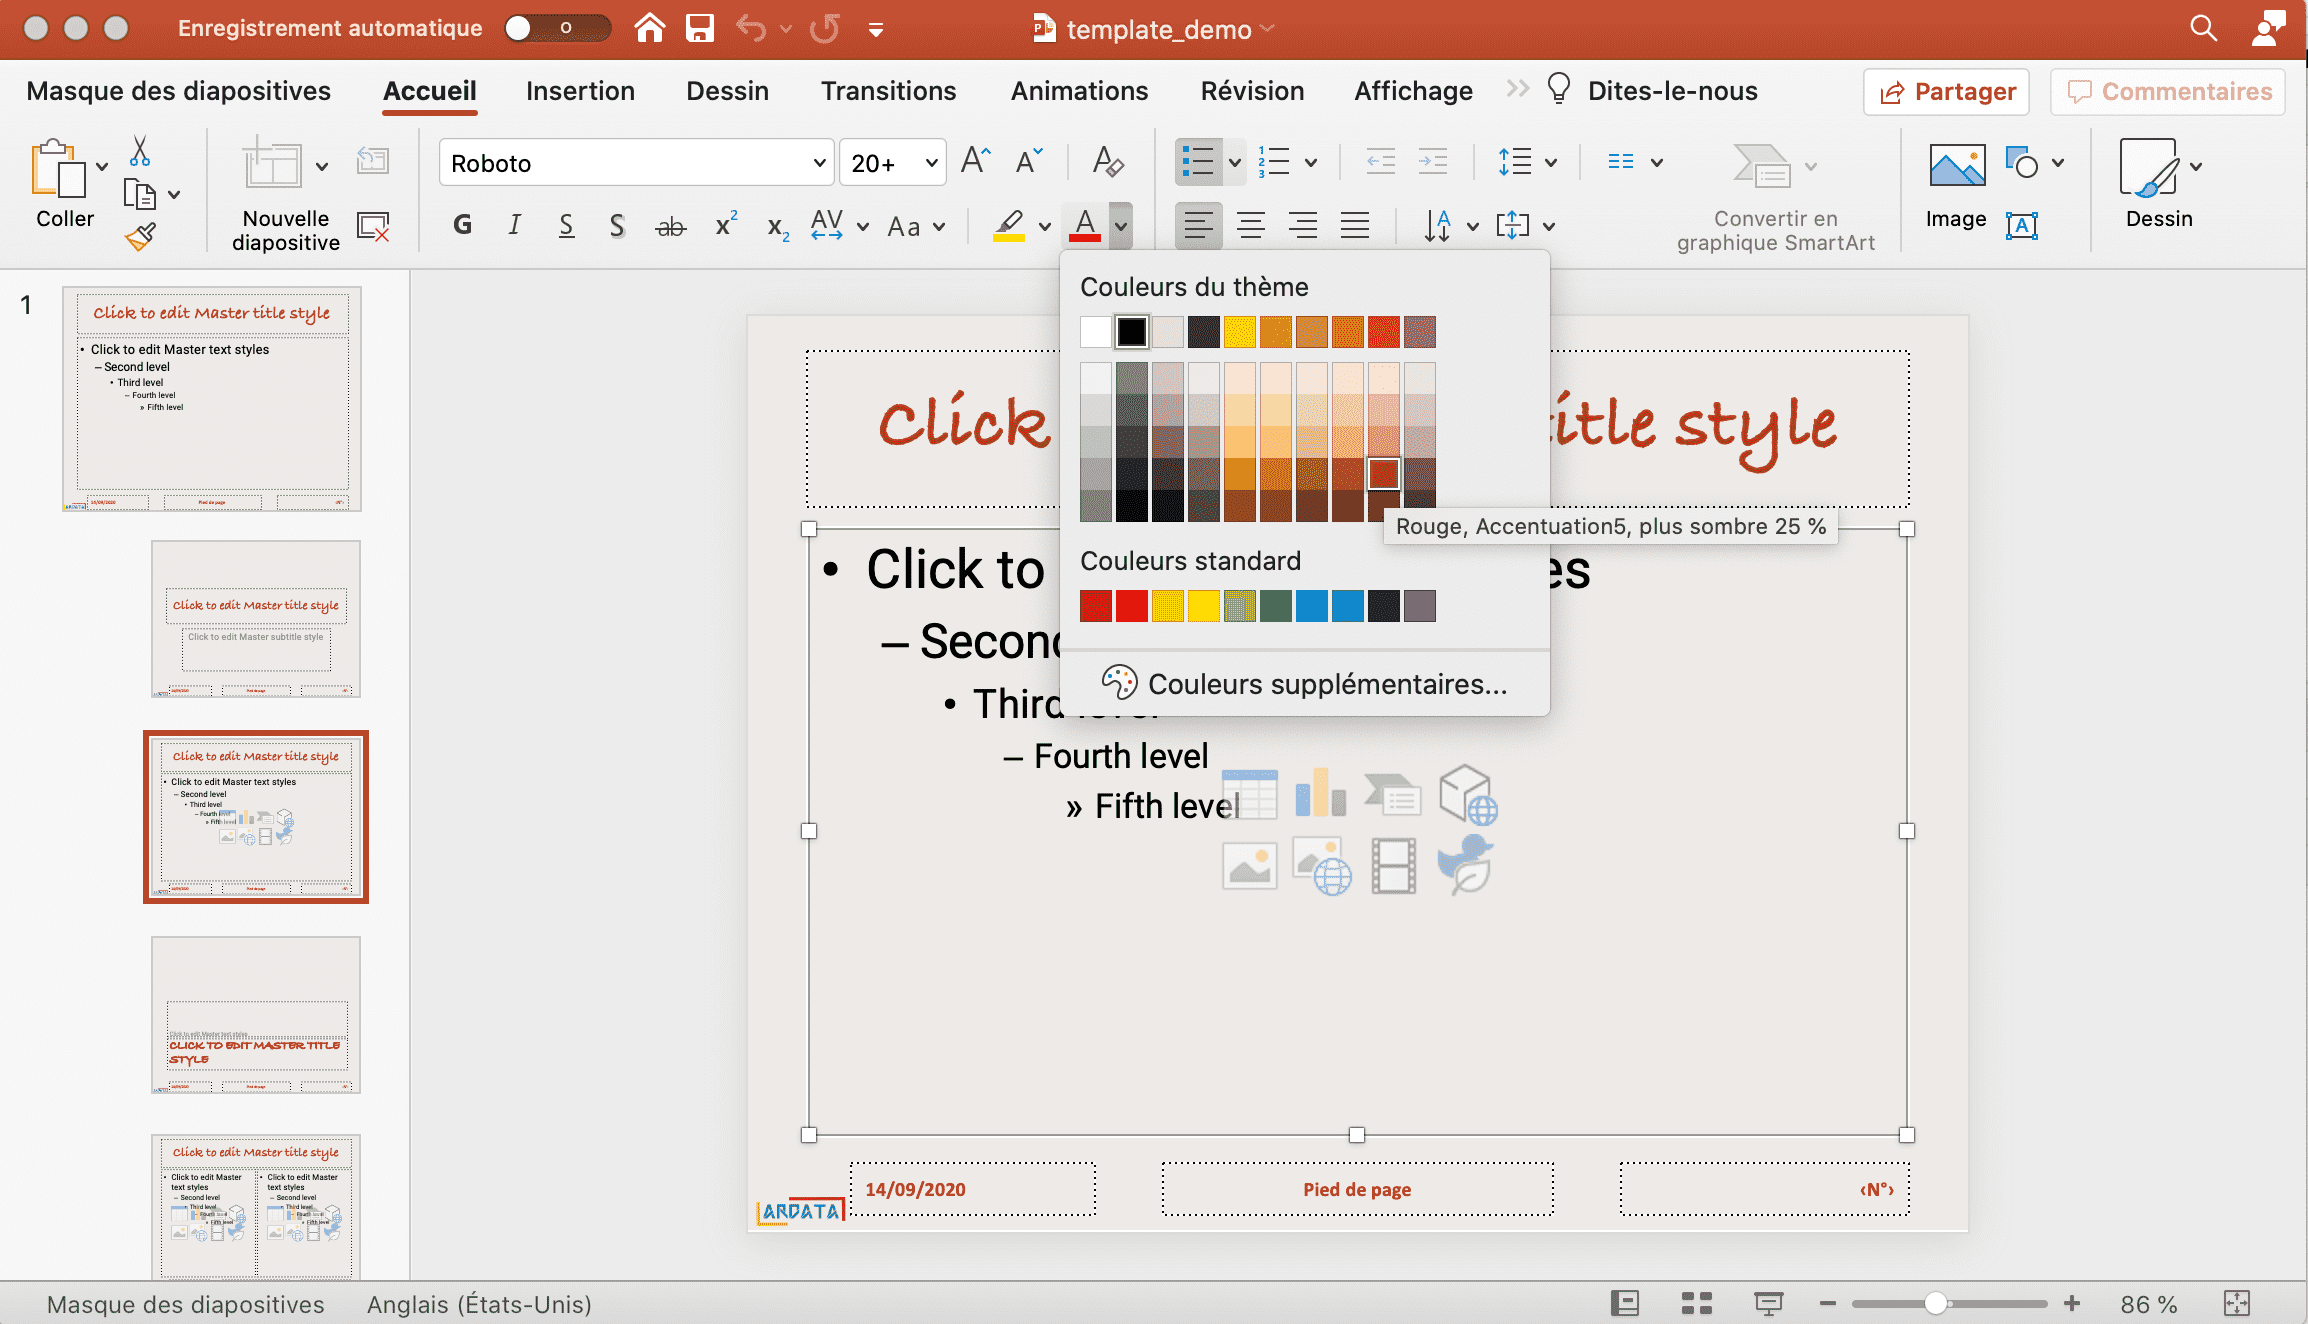
Placeholders located on a layout are all associated with an identifier :
These identifiers are usefull and can be used (if all are unique on the same layout),
for example to add some content on a named placeholder by using ph_location_label().
3.2.2 Slideshow dimensions
The size of slides can be read with function slide_size. Size is
in inches.
# $width
# [1] 10
#
# $height
# [1] 7.5
There is no function to modify these values. They are read-only. If you want to use other dimensions, use a template that have the dimensions you want.
3.2.3 List layouts names
From R, function officer::layout_summary() will return a data.frame
listing layouts and masters in a presentation.
layout | master |
|---|---|
character | character |
Title Slide | Office Theme |
Title and Content | Office Theme |
Custom Slide | Office Theme |
Section Header | Office Theme |
Two Content | Office Theme |
Comparison | Office Theme |
Title Only | Office Theme |
Blank | Office Theme |
n: 8 | |
This is the information expected for the layout and master argument values
of the add_slide() function.
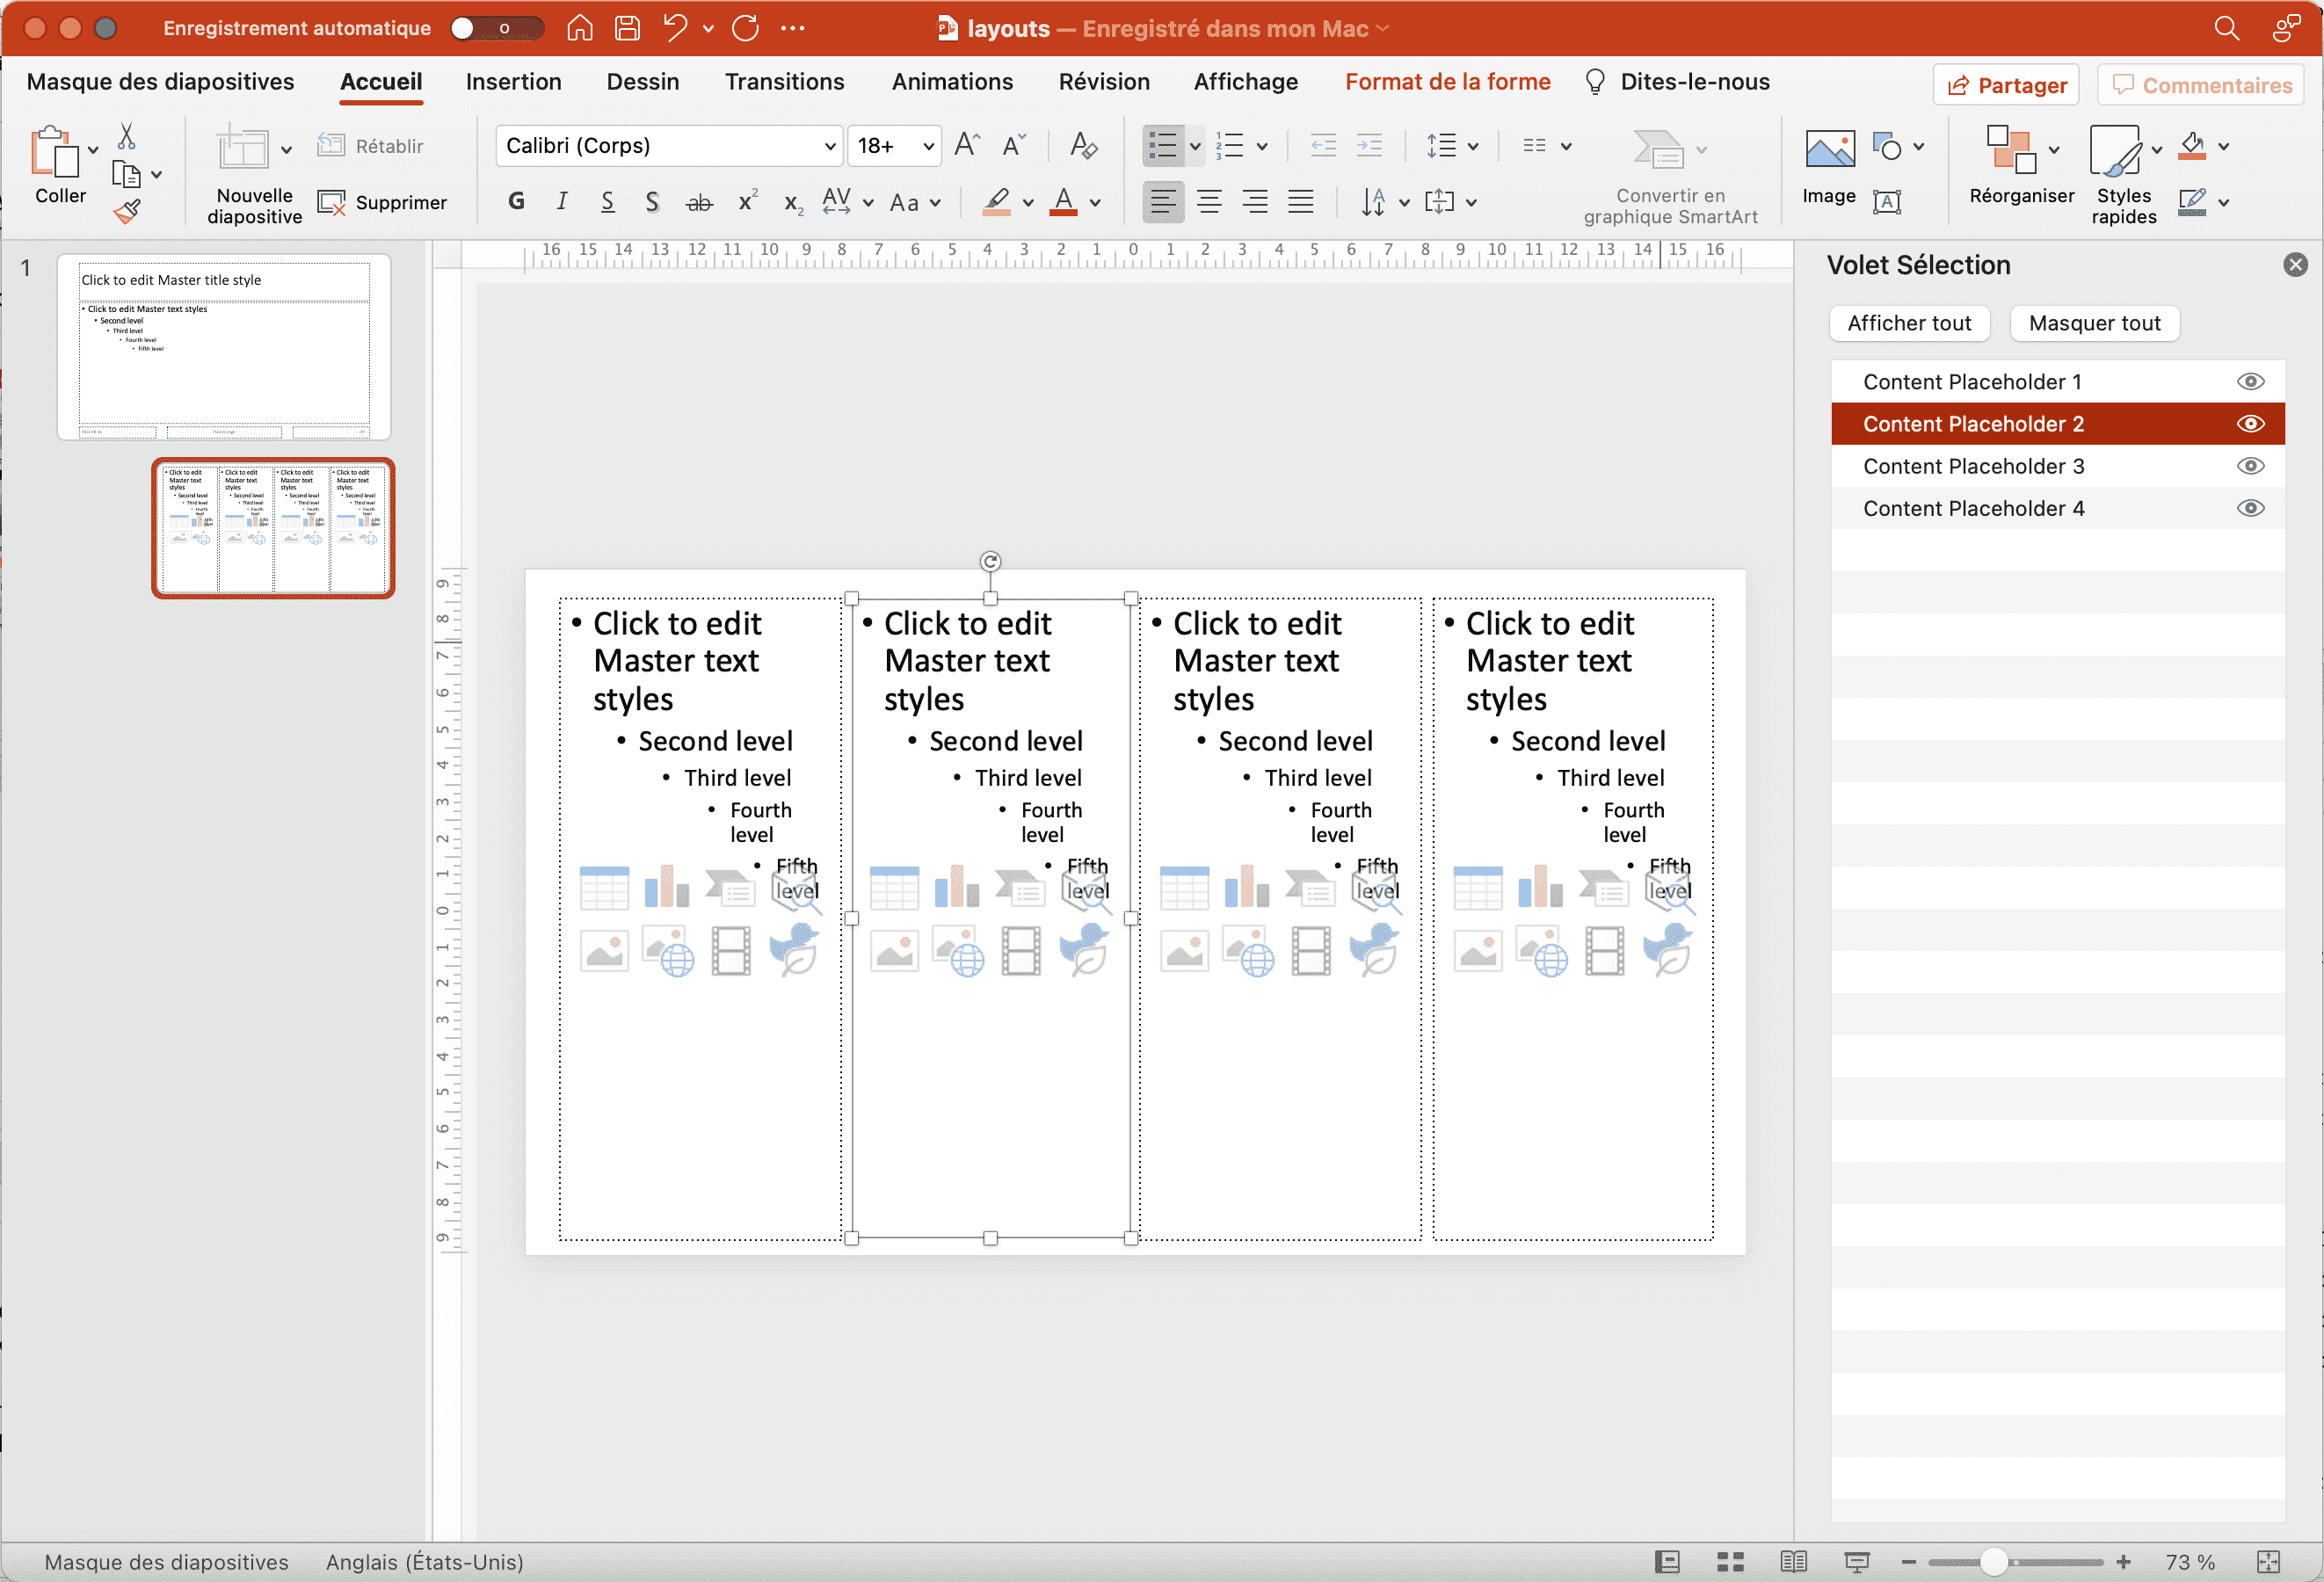
3.2.4 Layouts properties
When adding content to a slide, you could need to know more informations. For example, the identifier of a placeholder, the position, the width and height.
All these informations can be read with function layout_properties().
master_name | name | type | type_idx | id | ph_label | ph | offx | offy | cx | cy | rotation | fld_id | fld_type |
|---|---|---|---|---|---|---|---|---|---|---|---|---|---|
character | character | character | numeric | integer | character | character | numeric | numeric | numeric | numeric | numeric | character | character |
Office Theme | Title and Content | title | 1 | 2 | Title 1 | <p:ph type="title"/> | 0.5 | 0.3 | 9.0 | 1.2 | |||
Office Theme | Title and Content | body | 1 | 3 | Content Placeholder 2 | <p:ph idx="1"/> | 0.5 | 1.8 | 9.0 | 4.9 | |||
Office Theme | Title and Content | dt | 1 | 4 | Date Placeholder 3 | <p:ph type="dt" sz="half" idx="10"/> | 0.9 | 7.0 | 2.0 | 0.4 | {E6744CE3-0875-4B69-89C0-6F72D8139561} | datetimeFigureOut | |
Office Theme | Title and Content | ftr | 1 | 5 | Footer Placeholder 4 | <p:ph type="ftr" sz="quarter" idx="11"/> | 3.4 | 7.0 | 3.2 | 0.4 | |||
Office Theme | Title and Content | sldNum | 1 | 6 | Slide Number Placeholder 5 | <p:ph type="sldNum" sz="quarter" idx="12"/> | 7.2 | 7.0 | 2.3 | 0.4 | {8DADB20D-508E-4C6D-A9E4-257D5607B0F6} | slidenum | |
n: 5 | |||||||||||||
The ph_label column can be particularly interesting to allow to choose a
placeholder by its identifier.
It’s easy to plot this information and see how placeholders are arranged.
ggplot(z, aes(xmin = offx, ymin = -offy, xmax = offx + cx, ymax = -offy - cy)) +
  geom_rect(fill = "pink") +
  geom_text(aes(x = offx, y = -offy - cy/2, label = ph_label),
            color = "black", size = 3.5, hjust = 0) +
  theme_void()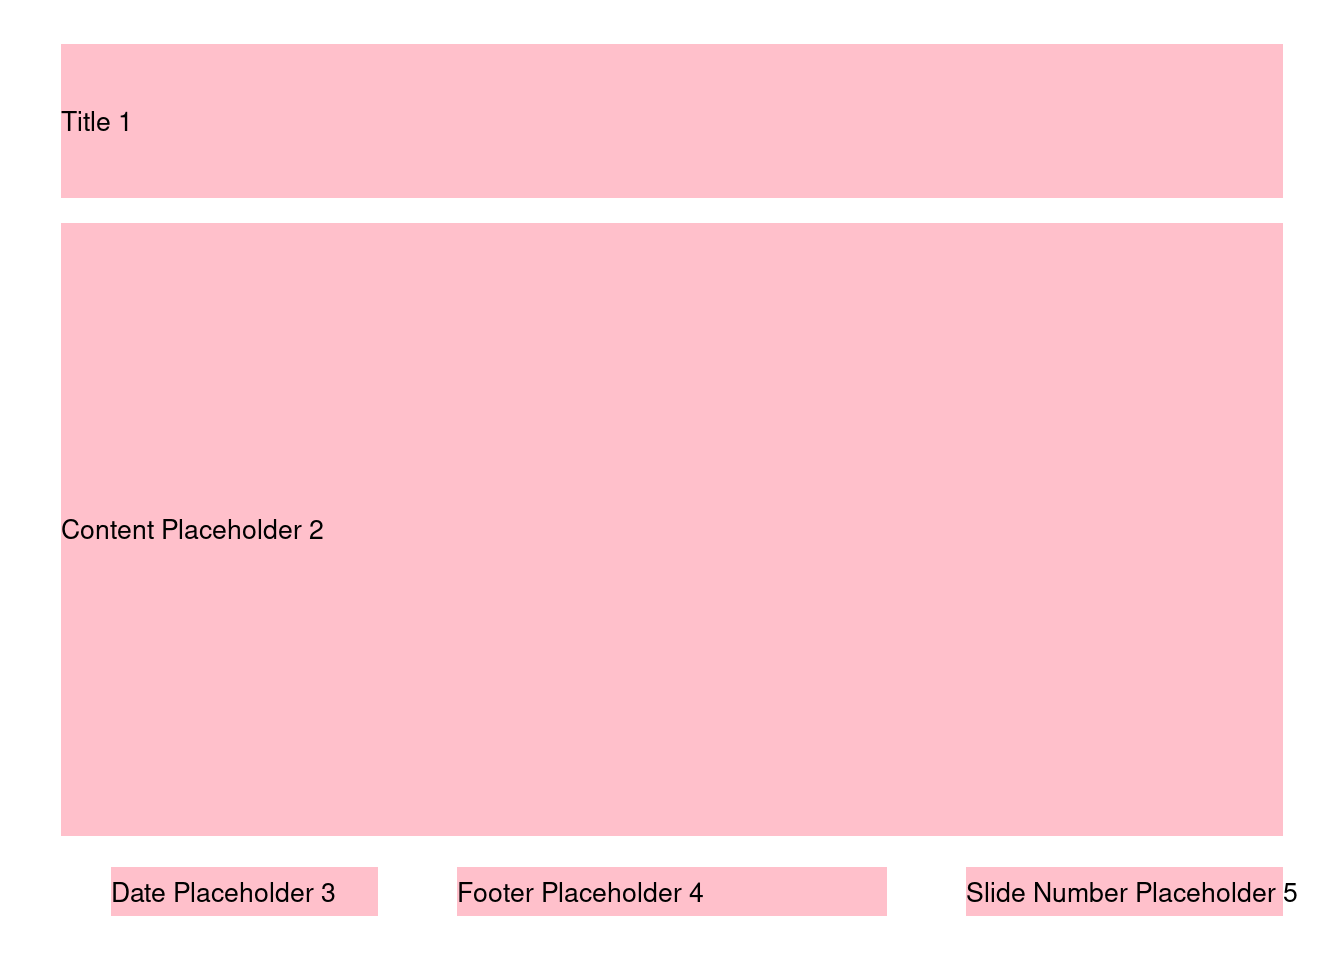
3.3 Word Document styles
When you add content to the Word document, you will have a formatting whose properties are defined in the template. These layouts can be listed from R and from Word of course.
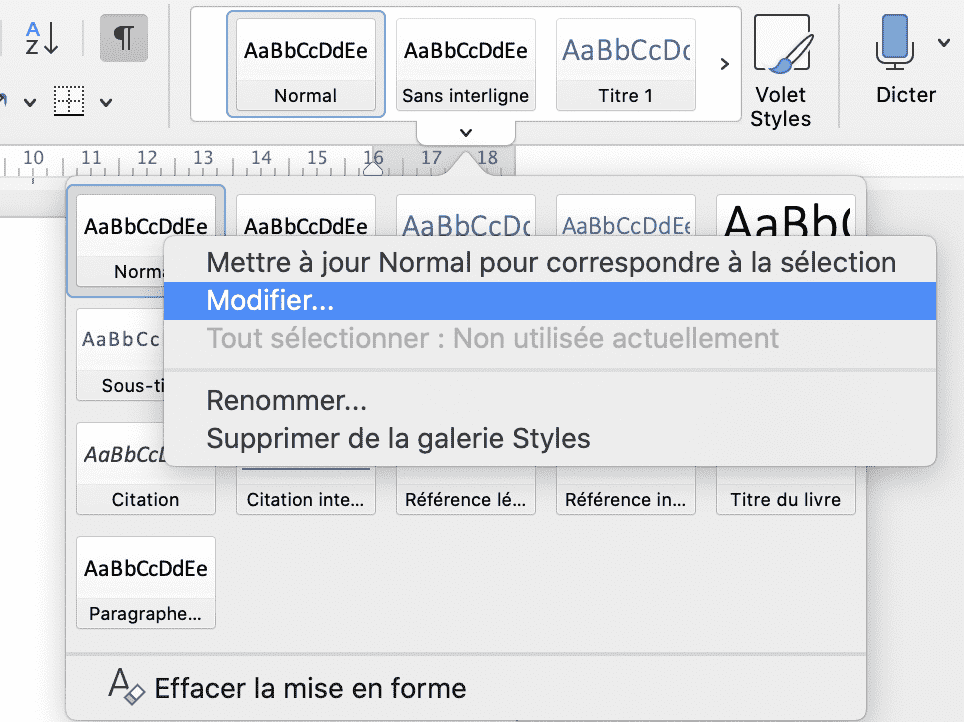
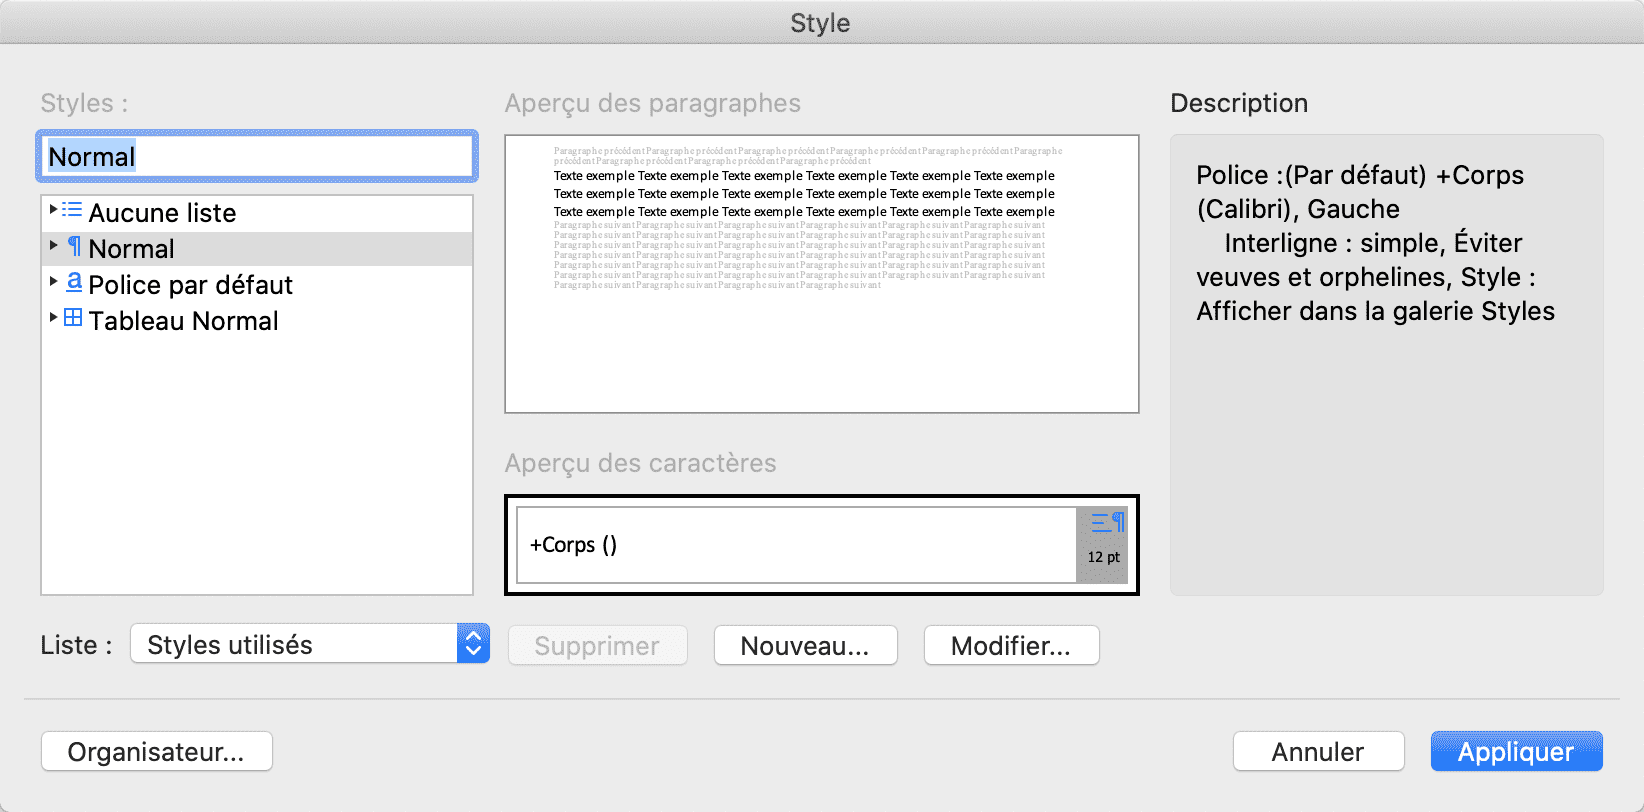
From Word, you have to open the menu “Quick Styles gallery” or the menu “Styles task pane” or the menu “Style”.
From R, you have to call officer::styles_info() to get a data.frame
listing available styles in a document. The function is listing not only
paragraph styles but also character styles, table styles and list styles.
style_type | style_id | style_name | base_on | is_custom | is_default | align | keep_next | line_spacing | padding.bottom | padding.top | padding.left | padding.right | shading.color.par | border.bottom.width | border.bottom.color | border.bottom.style | border.top.width | border.top.color | border.top.style | border.left.width | border.left.color | border.left.style | border.right.width | border.right.color | border.right.style | font.size | bold | italic | underlined | color | font.family | vertical.align | shading.color | hansi.family | eastasia.family | cs.family | bold.cs | font.size.cs | lang.val | lang.eastasia | lang.bidi |
|---|---|---|---|---|---|---|---|---|---|---|---|---|---|---|---|---|---|---|---|---|---|---|---|---|---|---|---|---|---|---|---|---|---|---|---|---|---|---|---|---|---|
character | character | character | character | logical | logical | character | logical | numeric | character | character | character | character | character | numeric | character | character | numeric | character | character | numeric | character | character | numeric | character | character | character | character | character | character | character | character | character | character | character | character | character | character | character | character | character | character |
paragraph | Normal | Normal | false | true | false | ||||||||||||||||||||||||||||||||||||
paragraph | Titre1 | heading 1 | Normal | false | false | true | 480 | 0.5 | auto | single | 32 | 32 | |||||||||||||||||||||||||||||
paragraph | Titre2 | heading 2 | Normal | false | false | true | 200 | 26 | 26 | ||||||||||||||||||||||||||||||||
paragraph | Titre3 | heading 3 | Normal | false | false | true | 200 | ||||||||||||||||||||||||||||||||||
character | Policepardfaut | Default Paragraph Font | false | true | false | ||||||||||||||||||||||||||||||||||||
table | TableauNormal | Normal Table | false | true | false | ||||||||||||||||||||||||||||||||||||
numbering | Aucuneliste | No List | false | true | false | ||||||||||||||||||||||||||||||||||||
character | strong | strong | Policepardfaut | true | false | false | |||||||||||||||||||||||||||||||||||
paragraph | centered | centered | Normal | true | false | center | false | ||||||||||||||||||||||||||||||||||
table | tabletemplate | table_template | TableauNormal | true | false | right | false | ||||||||||||||||||||||||||||||||||
table | Listeclaire-Accent2 | Light List Accent 2 | TableauNormal | false | false | false | |||||||||||||||||||||||||||||||||||
character | Titre1Car | Titre 1 Car | Policepardfaut | true | false | false | 32 | 32 | |||||||||||||||||||||||||||||||||
character | Titre2Car | Titre 2 Car | Policepardfaut | true | false | false | 26 | 26 | |||||||||||||||||||||||||||||||||
character | Titre3Car | Titre 3 Car | Policepardfaut | true | false | false | |||||||||||||||||||||||||||||||||||
paragraph | ImageCaption | Image Caption | Normal | true | false | center | false | ||||||||||||||||||||||||||||||||||
paragraph | TableCaption | Table Caption | ImageCaption | true | false | false | |||||||||||||||||||||||||||||||||||
table | Tableauprofessionnel | Table Professional | TableauNormal | false | false | false | |||||||||||||||||||||||||||||||||||
paragraph | TM1 | toc 1 | Normal | false | false | false | 100 | ||||||||||||||||||||||||||||||||||
paragraph | TM2 | toc 2 | Normal | false | false | false | 100 | 240 | |||||||||||||||||||||||||||||||||
paragraph | Textedebulles | Balloon Text | Normal | false | false | false | 18 | Lucida Grande | Lucida Grande | 18 | |||||||||||||||||||||||||||||||
character | TextedebullesCar | Texte de bulles Car | Policepardfaut | true | false | false | 18 | Lucida Grande | Lucida Grande | 18 | |||||||||||||||||||||||||||||||
character | referenceid | reference_id | Policepardfaut | true | false | false | superscript | ||||||||||||||||||||||||||||||||||
paragraph | graphictitle | graphic title | ImageCaption | true | false | false | |||||||||||||||||||||||||||||||||||
paragraph | tabletitle | table title | TableCaption | true | false | false | |||||||||||||||||||||||||||||||||||
n: 24 | |||||||||||||||||||||||||||||||||||||||||
- column
style_typeis providing the type of style, it can be ‘paragraph’, ‘character’, ‘table’ and ‘list’. - column
style_idis providing the unique identifier of the style, as stored in the document’s XML. High-level functions likebody_add_par(style = ...)take thestyle_name, but a few lower-level APIs work with thestyle_idinstead, seerun_wordtext(style_id = ...). - column
style_nameis providing name (unique) of the style. This is the value users will have to often use to specify which style is to be used when adding a content (‘heading 1’ for example). - columns
is_customandis_defaultare providing informations about the style (is it a custom style, is it a default style).
These results should be used to list the styles you want to associate with content. For example, to add a ‘level 1’ title, use ‘heading 1’.
Be careful, the style names are specific to your configuration. It is likely that the title of ‘level 1’ is not called ‘heading 1’; in this case, it is up to you to recognize it (in French for example, it can be called ‘Titre 1’).
Styles are not limited to the ones shipped by the template. You can add or
replace a style from R using docx_set_paragraph_style() (for paragraph
styles) or docx_set_character_style() (for character styles). Both take a
base_on argument: the new style inherits every attribute of the parent style
and only overrides what is explicitly set. To remap existing content from one
style to another in bulk, use change_styles(). See Chapter 4 for the
corresponding examples.
3.3.1 Usage with rmarkdown
Being able to use style with paragraphs or text chunks is not a feature of
‘officedown’ but of pandoc.
If you define a paragraph or text chunk with the attribute custom-style,
pandoc will apply your specified style to the contained elements (with the
exception of elements whose function depends on a style, like headings, code
blocks, block quotes, or links).
In the example below, the paragraph has style “centered” and a chunk of text has character/run style “strong”.
---
output:
  officedown::rdocx_document:
    reference_docx: path/to/your/template.docx
---


::: {custom-style="centered"}

blah blah blah [strong blah]{custom-style="strong"}.

:::
3.3.2 Usage with ‘officer’
The paragraph is the main top container for content within a Word document.
Note that tables are top container, they are at the same level as paragraphs.
body_add_* functions are designed to add content as a top container: text
as an entire paragraph, table, image, page break…
The ‘officer’ package provides function officer::body_add_par() with an
argument named stylename. Expected value is one of the available paragraph
style names. This allows you to define a paragraph associated with a style.
Note that a title is a paragraph.
library(officer)

doc_3 <- read_docx(path = "templates/template_demo.docx") |>
  body_add_par("Level 1 title", style = "heading 1") |>
  body_add_par("Hello world!", style = "Normal")

print(doc_3, target = "static/office/example_3.docx")